20 Minute Yoga Sequence To Do in Nature Without Mat
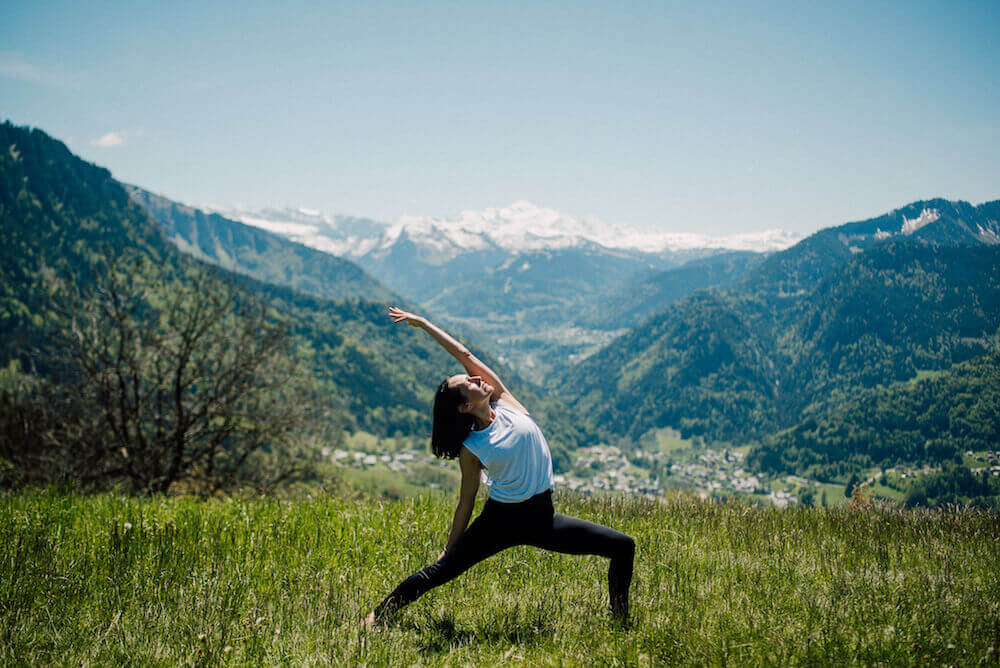
Yoga is a great way to get in touch with your body, mind, and soul, and when practiced outside in nature, it adds another layer of mindfulness to the experience. Julia Barnes, a yoga teacher from Haute-Savoie in the French Alps, shares some of her favorite poses to help you get started with your yoga practice outside.
Practicing yoga outside on uneven ground is different from practicing on a mat, as the focus is on being in contact with the earth and enjoying the fresh air and sunshine. Julia emphasizes that the perfect alignment of the pose is not necessary when practicing outside, and the idea is to get a sense of connection with the earth.
1) Mountain Pose
The first pose Julia recommends is the Mountain Pose. To start, take your shoes and socks off and stand with your feet hip-width apart. Lift your toes and spread them wide, then gently place them back on the ground.
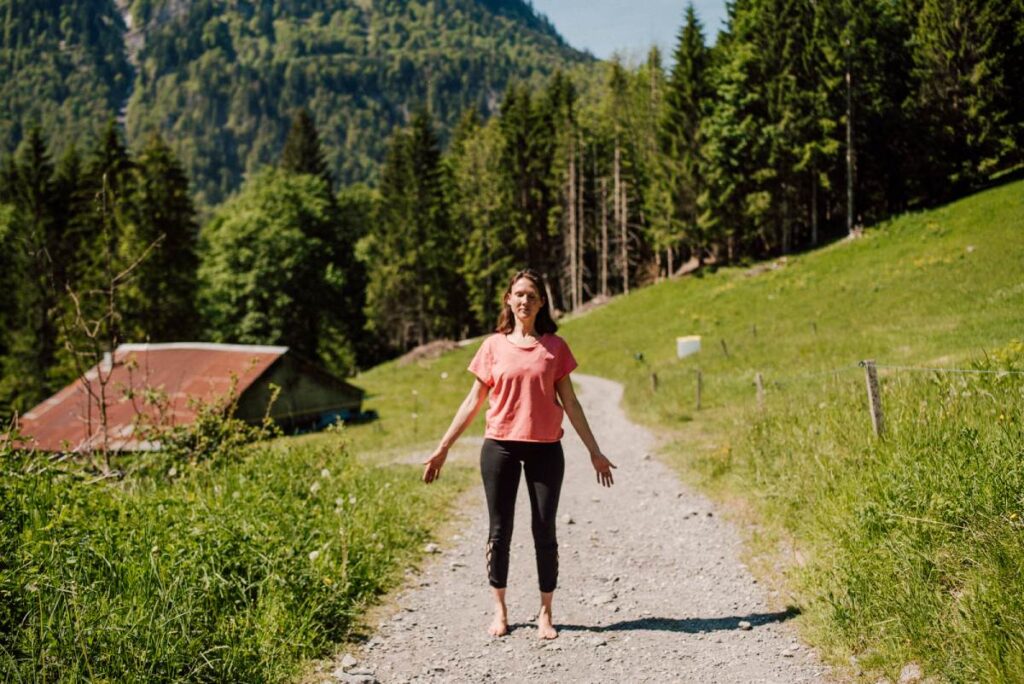
Push through your feet and let the crown of your head rise while turning your palms forward, opening your shoulders slightly and placing your arms by your sides.
Close your eyes and notice the contact between your feet and the earth. Feel how you can push your feet into the earth to energize your legs and grow taller, widening your shoulders and ribcage.
Notice your breath and breathe naturally. Inhale fully and feel your lungs filling with fresh air, and as you exhale, feel your ribs drawing in slightly and releasing. Stay with this awareness of your breath and the ground underneath your feet.
2) Standing Forward Fold
Start with your feet hip-width apart and root them into the earth. Reach upwards, stretching your body from the crown of your head to your fingertips, and as you exhale, come into a forward fold.
Release your hands and head down naturally, adding a bit of free movement to your torso and arms by swaying from side to side, keeping your neck relaxed.
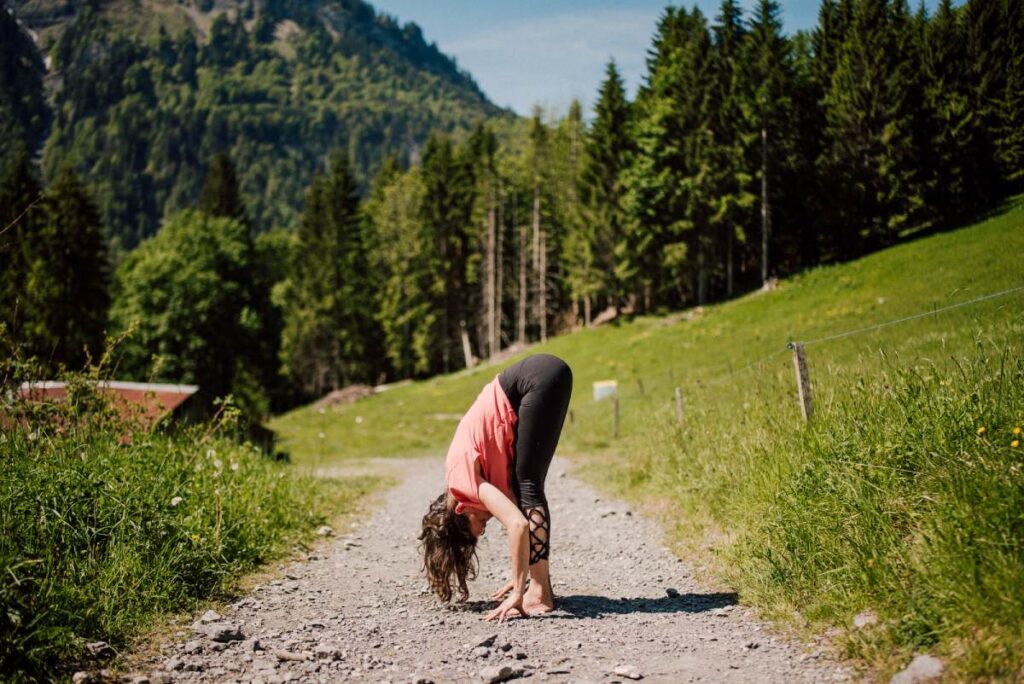
You can even add some movement into your legs, straightening one leg and then the other. Come back to center and find stillness, keeping your knees bent or straightening your legs, whatever feels natural and comfortable for your back and legs.
Take a few breaths and feel your feet pushing into the ground, and stay with a gentle breath.
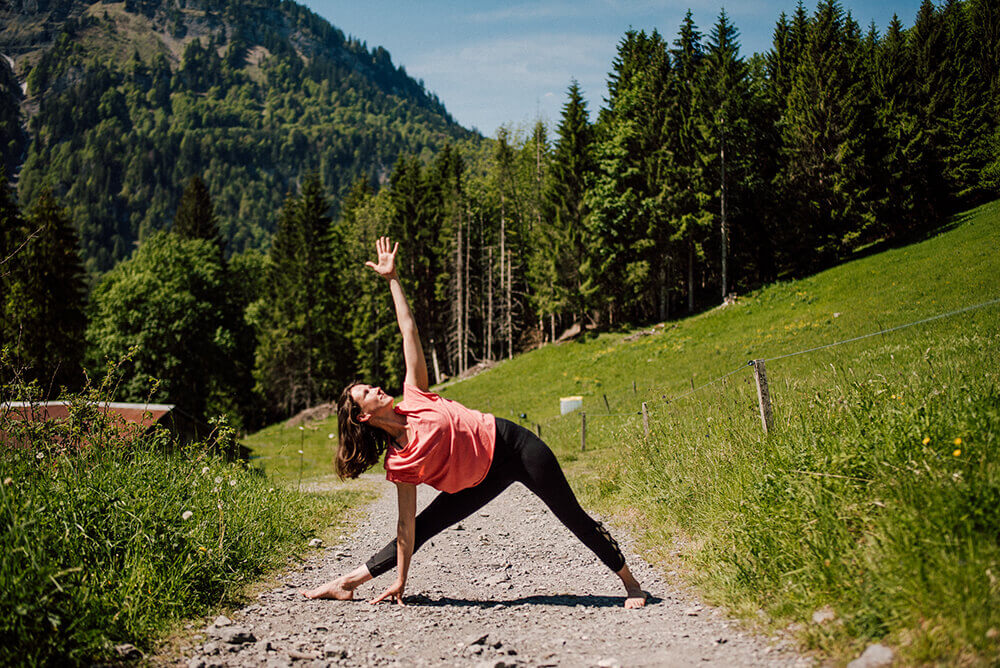
3) Reverse Warrior Pose
Start with your feet wide apart, turn your right toes out to the right and bend your right knee, extending your arms out. Reach through your fingertips and widen your shoulders, and gaze over the middle finger of your right hand.
On an inhale, turn your right palm up towards the sky, and as you exhale, fall to the left and bring your left hand gently onto your left leg.
Reach your right fingertips up to the sky or back a little, depending on what feels comfortable, and keep your head position comfortable.
Stay with an even breath through your nose and feel your right side body opening.
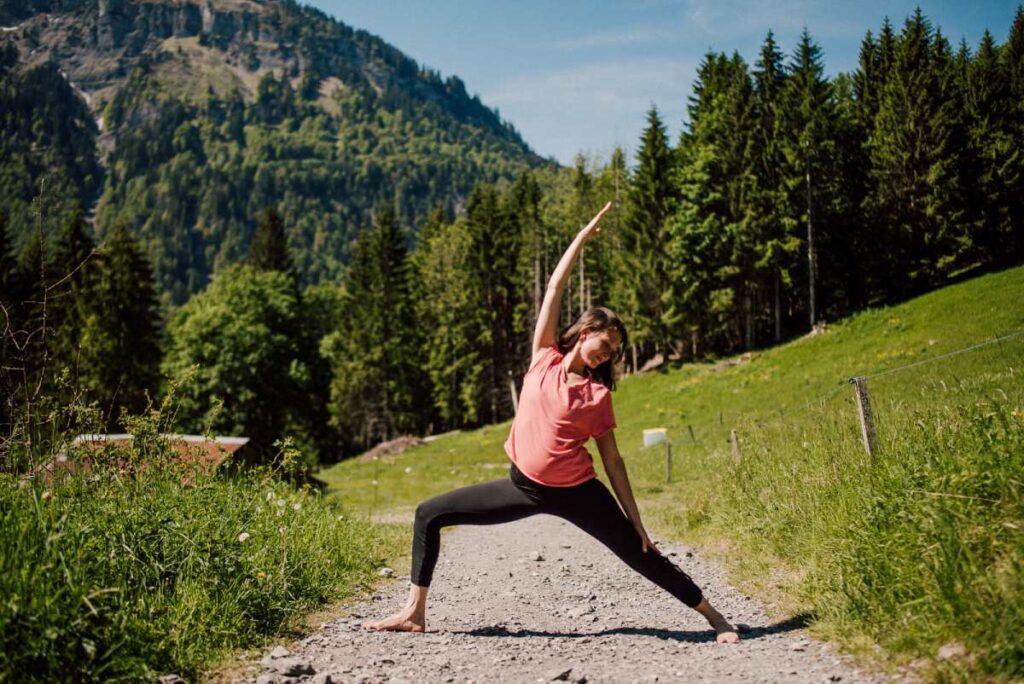
4) Triangle Pose
Stand in a wide-leg stance, keeping your feet apart. Start with your right side, turn your right toes out to the right, and reach your fingertips, keeping both legs straight.
Push the ground away with your feet, feel the legs waking up, and reach your right arm out to the right-hand side. Create space in the right side of the body, and then bring the right hand down to wherever it comes naturally on the leg.

The left arm should reach up, and you should be aware of the head and neck to avoid any tension. Take a few breaths here to feel the stretch through the legs, arms, and torso.
As you inhale, reach your fingertips through the crown of your head, creating space in your body. As you exhale, push through the feet to strengthen and wake up the body. Repeat on the left side.
5) Half-Moon Pose
Begin with the right side first, turn the right toes out to the right, and if you want, you can start with your left hand on your ladder. Bend the right knee and place the right fingertips on the earth.
Flex the left foot and start lifting it off the ground. You can keep the right knee bent or even bend the left knee if you need to.
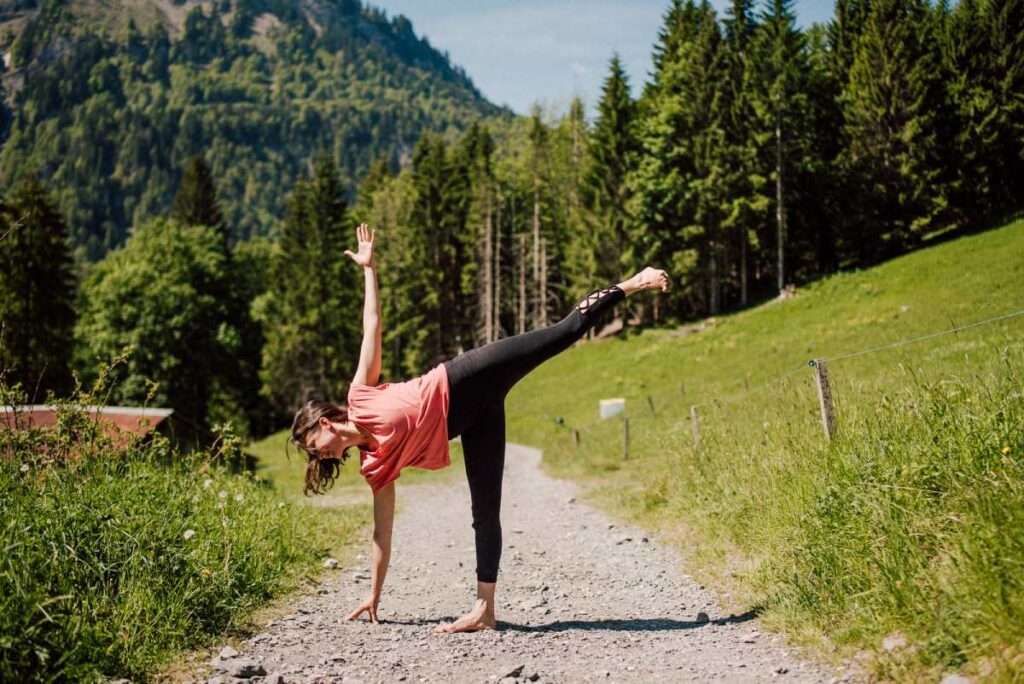
If it feels comfortable, extend the left leg and keep the foot flexed. Roll the left shoulder open, creating space, and reach the left fingertips up towards the sky.
Keep your gaze comfortable for your body, either down towards the ground, towards the side, or up to the sky. Repeat on the left side.
6) Downward Dog Pose
The Downward Dog Pose is a classic yoga pose that helps stretch the hamstrings, calves, and spine.
To start, ensure that your hands are comfortable since they will be on the ground. Bring your hands down, shoulder-width apart, fingers spread nice and wide, and walk your feet back until you have a comfortable distance between your hands and legs.
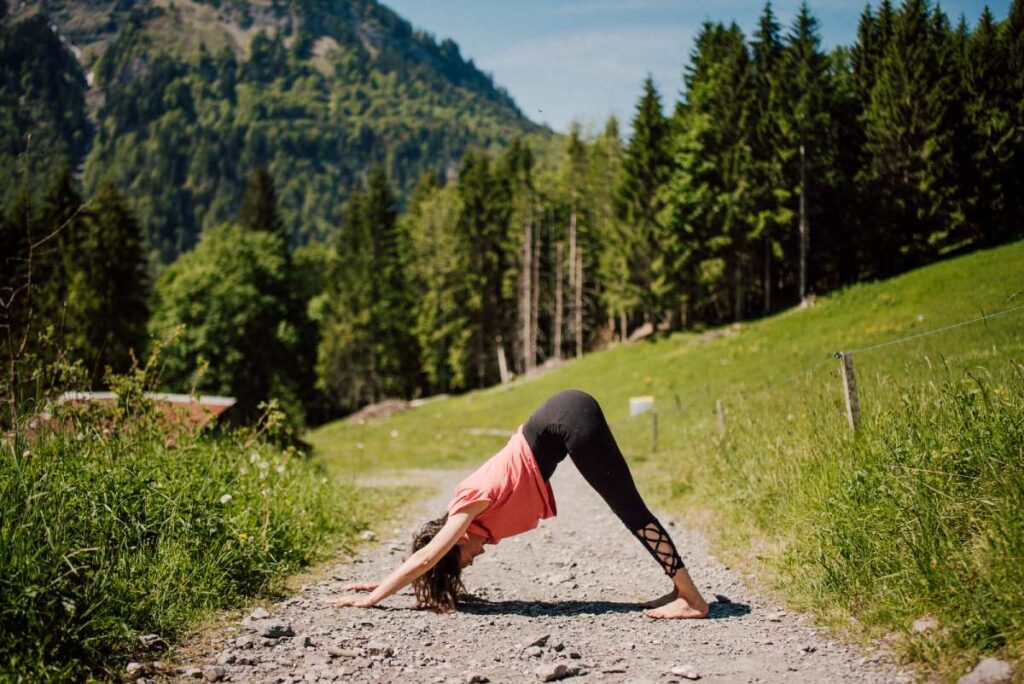
Begin by adding a bit of movement by pedaling out the legs, shifting the hips from side to side, and cycling the head. Whenever you’re ready, come to stillness, and the knees can stay slightly bent if that’s more comfortable for you. Feel the stretch in the hamstrings, calves, and spine.
7) Savasana
To end the outdoor practice, lie down comfortably on your back and rest in savasana for a few minutes. Keep your knees bent or legs straight and turn the palms of your hands towards the sky. Soften your body, release tension and allow your eyes to close.
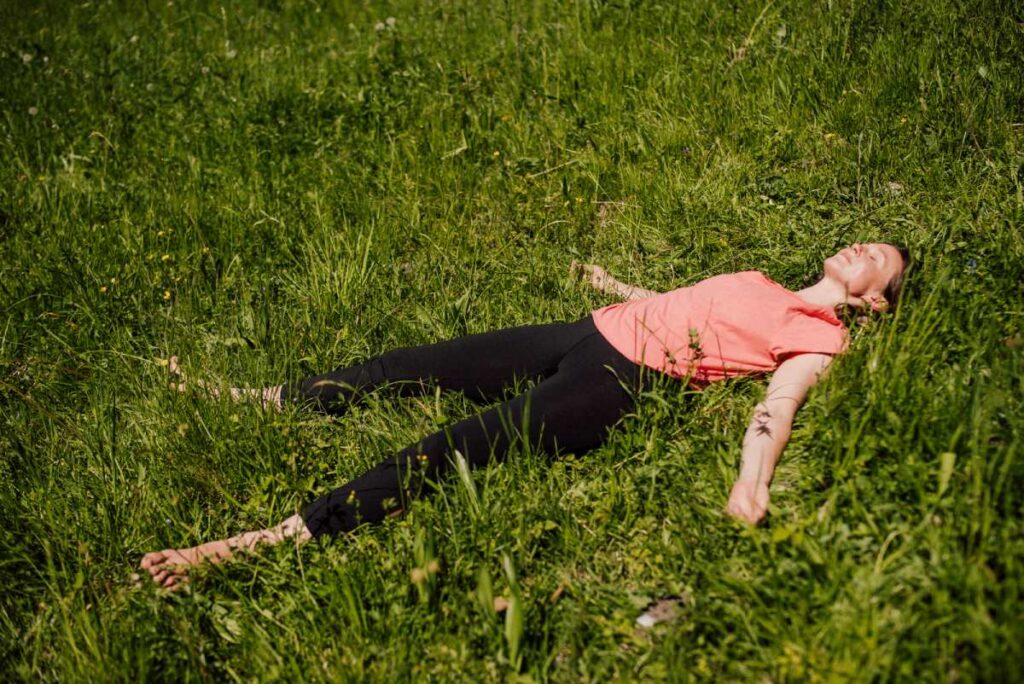
Focus on the sensations of the body and the environment. When you’re ready, slowly begin to move your fingers and toes, deepen your breathing and stretch your arms and legs. Roll to one side and gently come up to a seated position, feeling grounded and stable. Finally, open your eyes and thank yourself for practicing.